
My ironing board cover has taken quite a beating over the last year and a half. (not to mention it was ugly to start with)

I've been looking to buy a new cover but couldn't find one anywhere. So, duh, I just made one.
Here's my little tutorial.
Step 1. Pick out some cute fabric that is on the heavier side. The fabric I used was a light/med. weight canvas.
Step 2. Lay your board on your fabric and cut around it leaving a 3 inch or so boarder.


 Step 4. Quilt as desired. I just did a few simple lines.


Here's my little tutorial.
Step 1. Pick out some cute fabric that is on the heavier side. The fabric I used was a light/med. weight canvas.
Step 2. Lay your board on your fabric and cut around it leaving a 3 inch or so boarder.


Step 3. Cut out some batting using the above method only this time cut the batting to the shape of the top of your board only.


Step 5. Pin edges inward 1.5 inches. Press then sew .25 inch from the edge leaving a few inches open. 

Step 6. Thread ribbon thru the pocket you just made with a large safety pin, place over ironing board, pull ribbon tightly so it gathers and tie.

Ta da! Beautiful new ironing board cover!
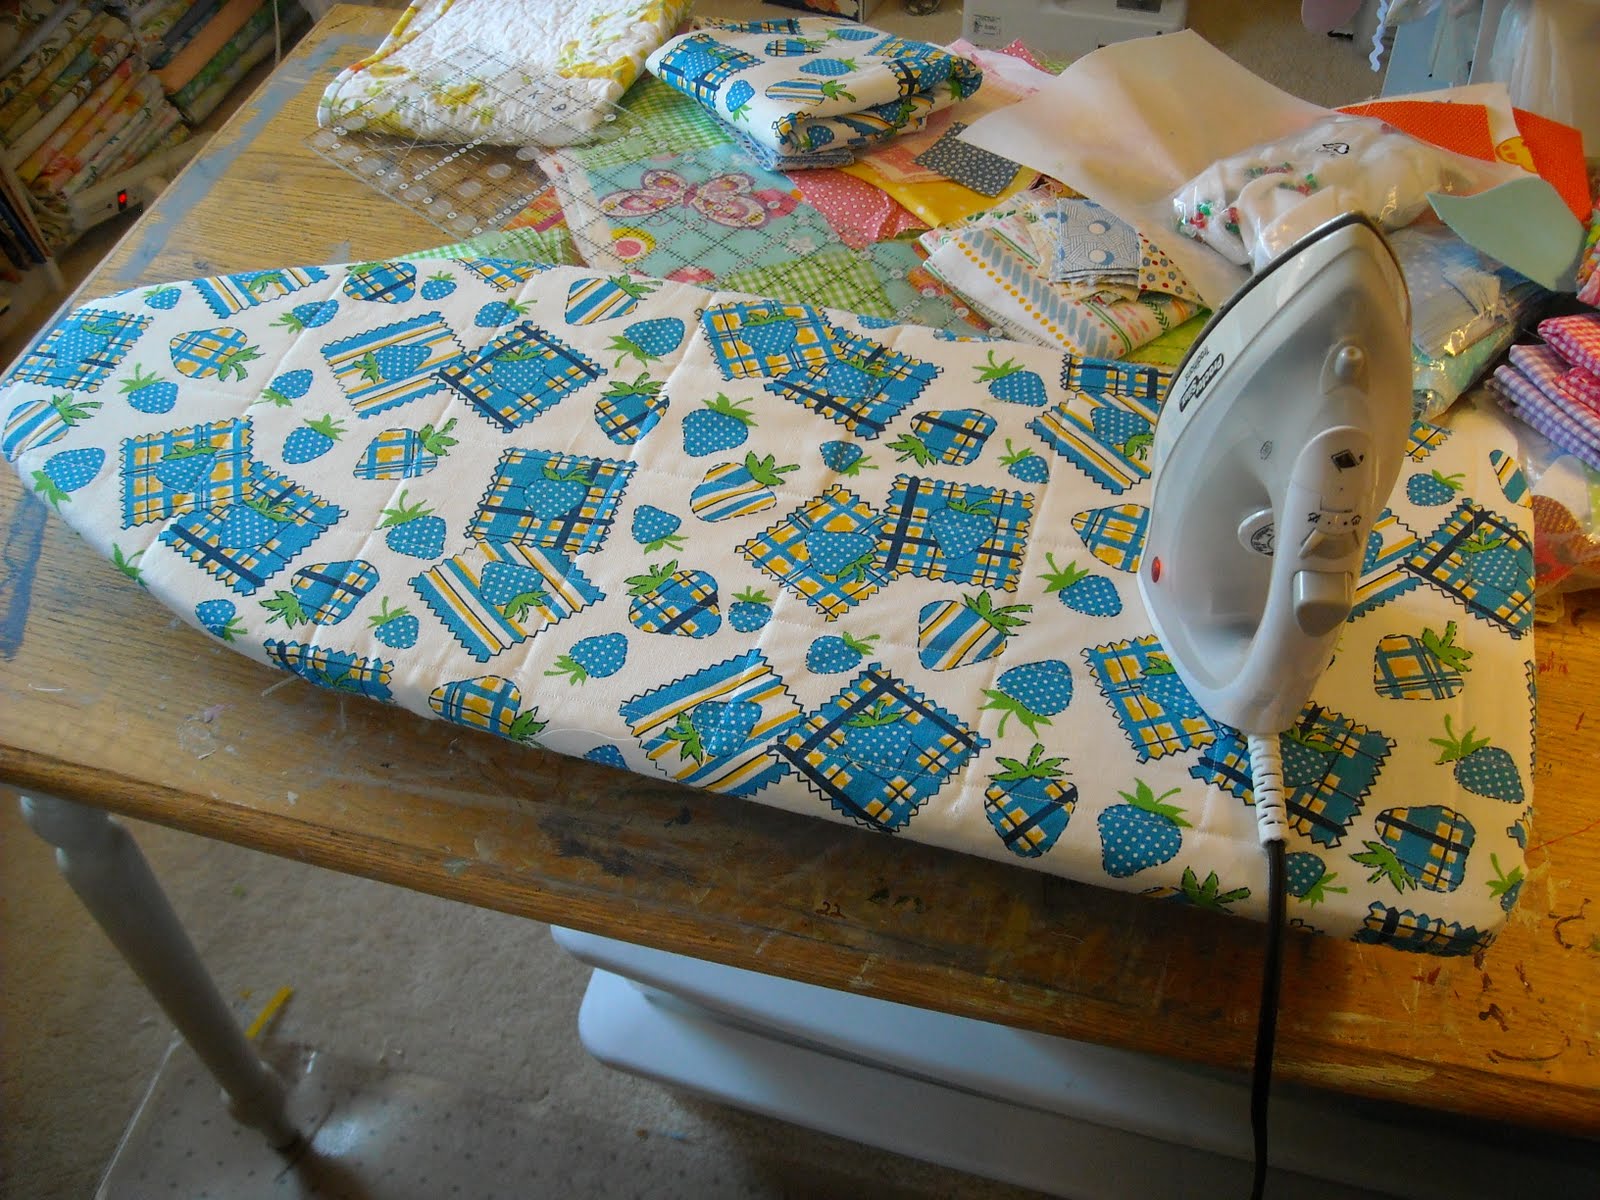
I love it! So much prettier!


3 comments:
Looks great. Nice tutorial too!
SewCalGal
www.sewcalgal.blogspot.com
Aren't you clever! and it's so much nicer and prettier than anything you could buy.
Post a Comment